Field Identification
If leaves look shredded overnight or fruit has fresh chew holes, cutworms may be feeding right now. These larvae can eat fast and strip a healthy plant in a short window. Young stages are easy to miss, then damage suddenly explodes as they grow. Catch them early to avoid severe defoliation and contaminated harvests.
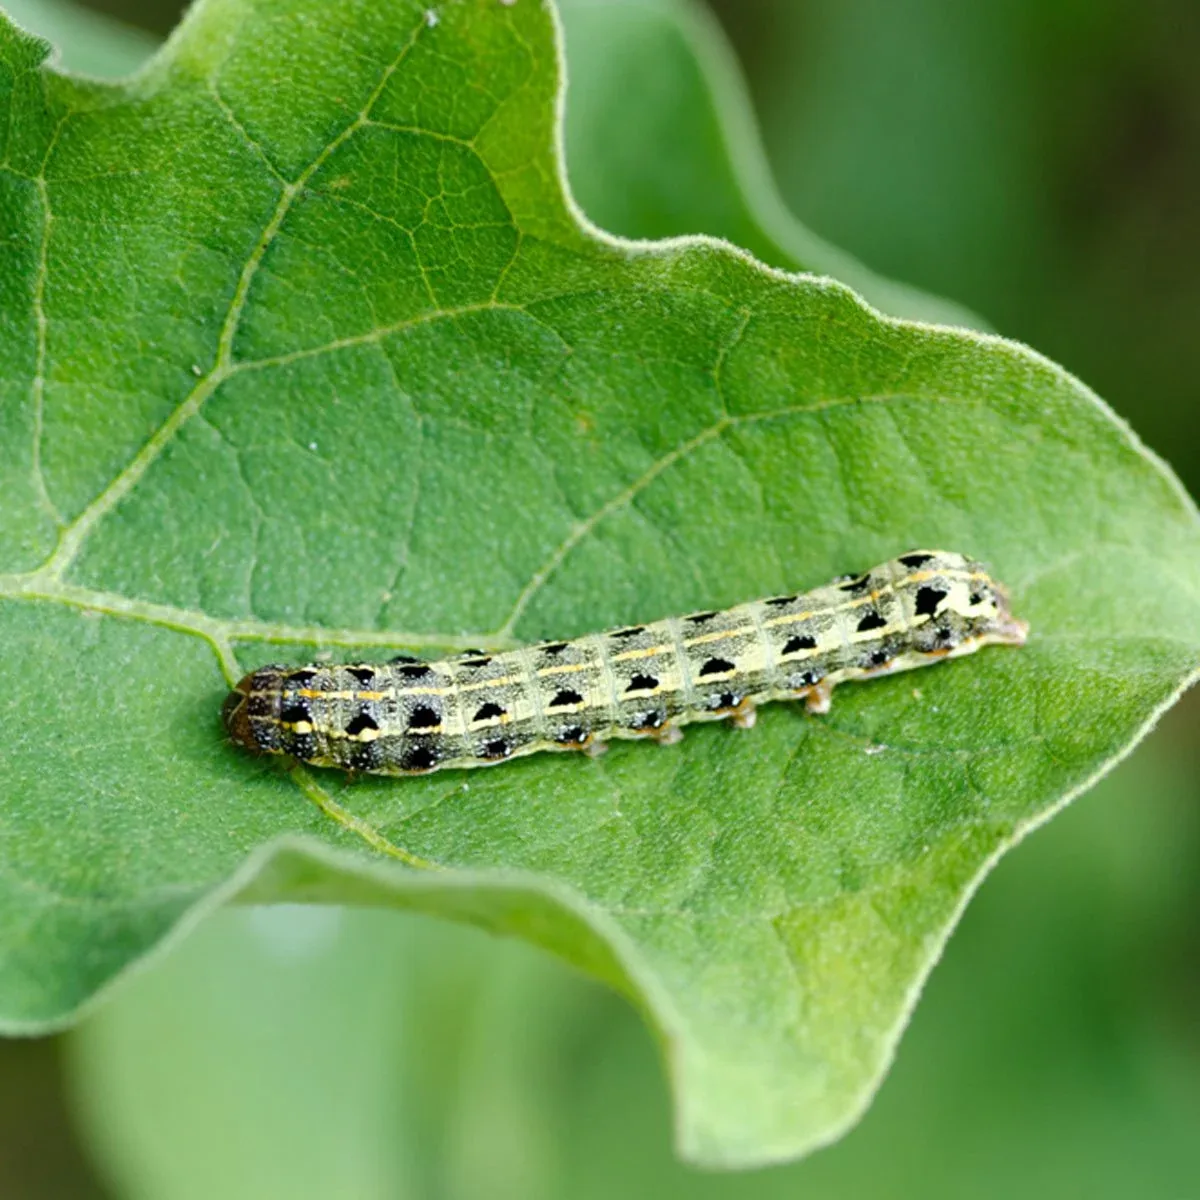
Check leaf undersides, growing tips, and stem junctions for eggs, frass pellets, and feeding scars. Larvae vary in color, but most have a soft segmented body and blend into foliage. Look at dusk or early morning when many species feed more actively. Fresh chewing plus live larvae or droppings on lower leaves confirms an active caterpillar outbreak.
Not sure what you have? Use the symptom diagnosis tool →
How to Deal With It
Organic Control Methods
Beneficial nematodes (Steinernema carpocapsae) applied to moist soil target cutworm larvae underground — apply at dusk when soil is above 55F (13C) and keep moist for 2 weeks. This is the most effective biological control for soil-dwelling larvae. Ground beetles are the most important surface predator of cutworm eggs and young larvae — permanent undisturbed mulch paths support ground beetle populations year-round. Parasitic wasps (Apanteles spp.) parasitize larger larvae. Robins and starlings actively dig cutworm larvae from soil after tilling — encourage insectivorous birds with habitat near the garden.
Cutworms cut seedlings at the soil line overnight — you find healthy plants toppled with a clean cut at the base and no insect visible. They feed at night and hide in soil during the day. The most effective prevention is a physical collar around each seedling — a toilet paper roll, plastic cup with the bottom removed, or tin can pushed 1 inch into soil creates a barrier cutworms cannot cross. Install collars at transplanting, not after damage appears. Till or cultivate beds 2 weeks before planting to expose pupae and eggs to birds and desiccation.
Cutworm moths lay eggs on w planting areas 2 weeks before transplanting and till to expose larvae. Remove crop debris after harvest. Delay transplanting slightly after clearing — birds and beneficial insects will work the exposed soil. Diatomaceous earth applied as a band at the soil surface around plant stems damages cutworms crossing at night. Cornmeal placed near plants is consumed by cutworms but they cannot digest it — an old folk remedy with some documented effectiveness.
Cardboard or plastic collars pushed 1 inch into soil around each seedling are the most reliable mechanical control — they physically stop cutworms from reaching stems. Check by digging in soil near cut plants during the day — cutworms curl up 1-2 inches below the surface near their feeding site. Hand-pick and destroy. Tilling and cultivating before planting exposes larvae to birds and desiccation — do it repeatedly in the 2 weeks before transplanting for maximum effect.
Bt kurstaki applied to soil surface and lower plant stems at dusk kills young cutworm larvae that feed on treated surfaces — most effective on larvae under 1 inch. Spinosad as a soil drench reaches cutworms below the surface. Diatomaceous earth applied as a dry band at soil level damages cutworms crossing at night — must be reapplied after rain. Neem oil soil drench disrupts larval development. Apply all treatments at dusk when cutworms are beginning to emerge and feed.
Let Nature Handle It
Natural Enemies
- Ground Beetles
- Birds
- Parasitic Wasps
Threat Map